Thursday, August 30, 2012

Peach and Yellow Plum Chutney

We have an over-abundance of peaches this year.  We have 5 1/2 peach trees (one tree is almost dead) and we have peaches coming out the ying-yang.  The first year we were here, we got a grand total of 7 peaches.  Yes 7 peaches from 6 trees!  It got cool that spring when the peach trees were blooming and the flowers didn't set.

This spring we had lots of fruit so I started thinning the peach and apple trees.  You are to thin so the fruit doesn't touch when it is full grown.  I thinned out a lot of fruit but didn't get all the trees finished.  The tree below got missed.  There were tons of fruit and they were quite a bit smaller than on the trees I thinned.


 This tree was thinned - you can see most fruit are not touching each other.


 This is a later tree because although the peaches are quite red, they still are very hard.


We also have 2 yellow plum trees and the plums are just clumped together.  I was told that you don't have to thin plums as they self-thin and drop excess fruit.  WRONG!  Look at these plums.


Anyway, back to the chutney.  A friend asked me to make some chutney for her and upon doing some research, I found so many interesting recipes to choose from.  I got this one from my cookbook 250 Home Preserving Favorites by Yvonne Tremblay.  It looked tasty plus it used peaches and yellow plums.
 
 
Ingredients
 
4 c plums - chopped
3 c peaches - peeled and chopped
2 1/2 c sugar (the recipe asked for brown sugar but I read that the chutney would be a darker colour with it.  I decided to go with white sugar to help keep the lovely colours of the fruit)
1 c  diced yellow or red pepper (I used red for a contrasting colour)
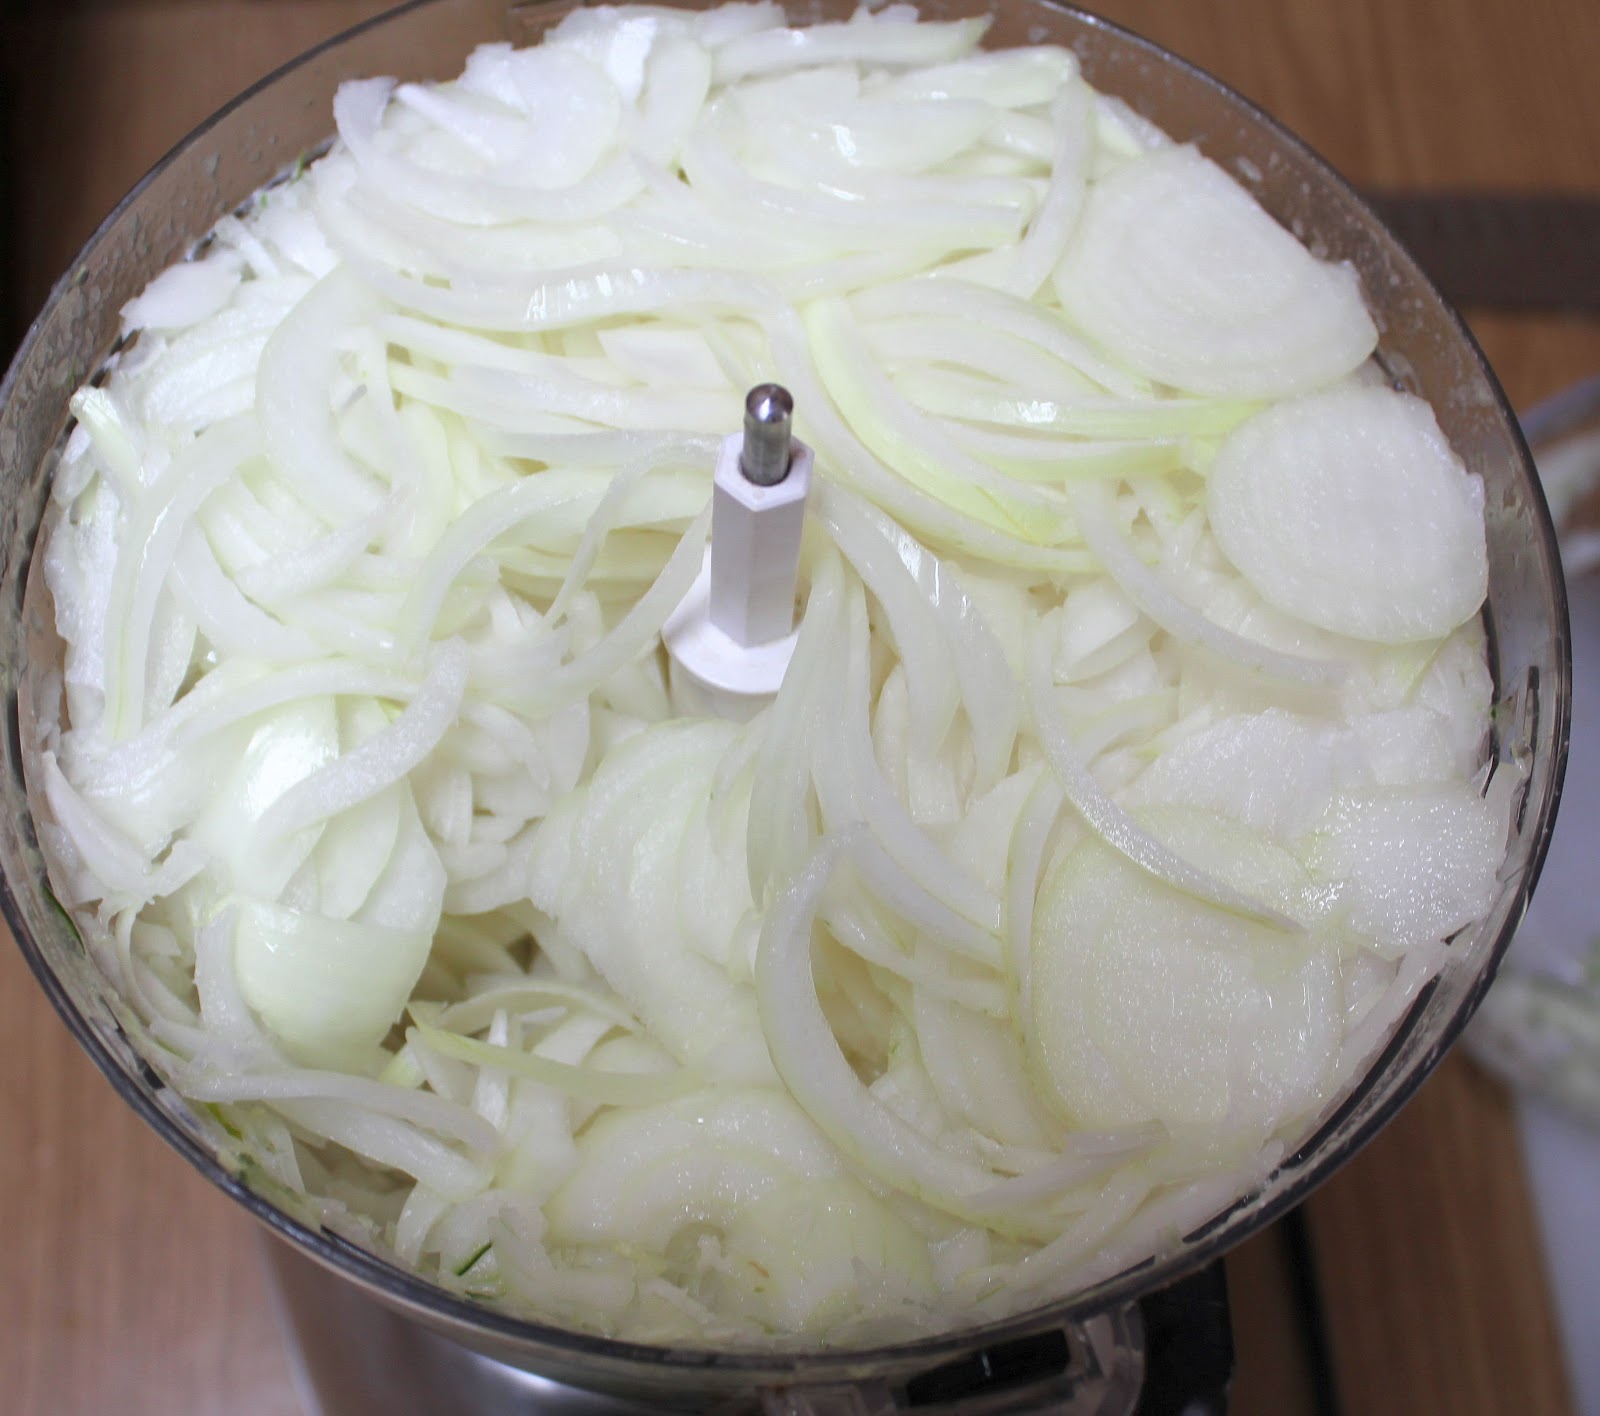
1 c chopped onion
1 large clove garlic, minced
1 green or red hot chili pepper, minced or 1 tsp hot pepper flakes (I used red pepper flakes)
2/3 c vinegar
2 Tbsp grated ginger root
1 Tbsp grated lemon rind
2 tsp salt
1 tsp cinnamon
1 tsp ground cloves
1 tsp mustard seed
1/2 tsp ground coriander
1/2 tsp turmeric
 
 
 Peel and chop peaches. 


Chop and pit plums.  Leave the peel on as it breaks down in cooking.  It also adds pectin to aid with the thickening of the chutney.

 
Mince garlic, chop onion and dice pepper.  Add to fruit in a large heavy-bottomed pot. 

 
 Grate lemon ring and ginger root.  Add to rest.

 
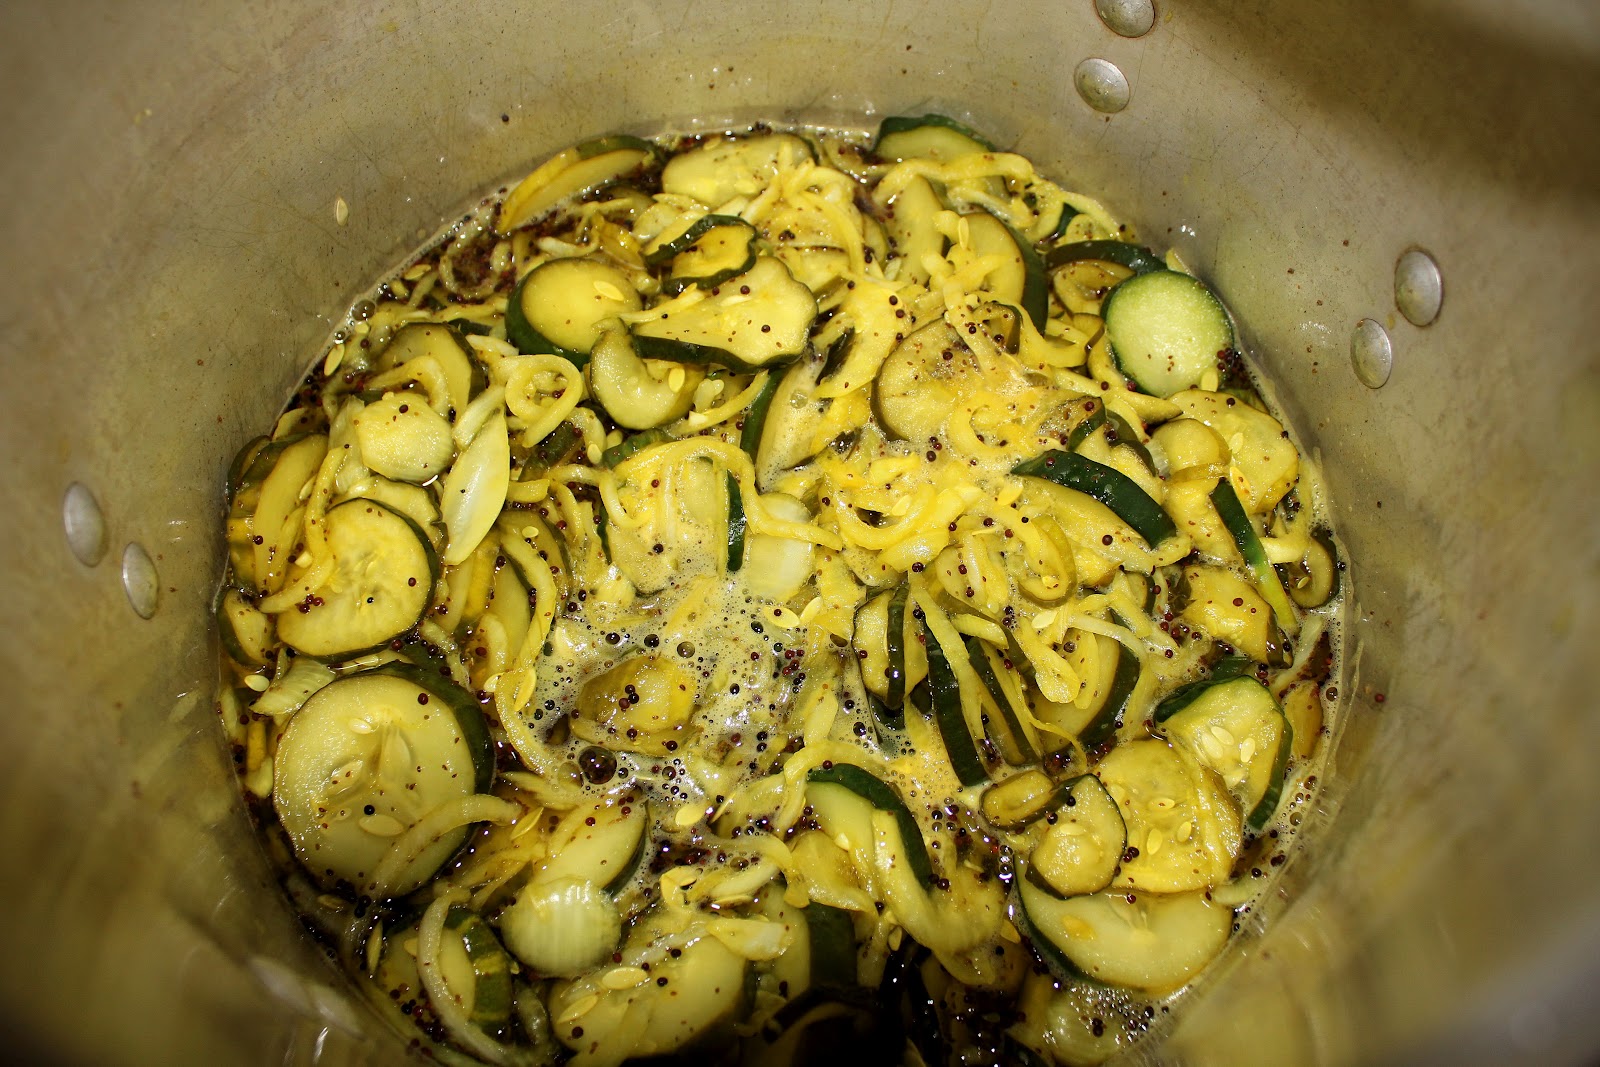
Add sugar, spices and vinegar to rest of ingredients.  Isn't it a lovely colour?  Stir often while bringing to a boil.  Reduce heat to a gentle boil.  Stir often while mixture cooks and thickens.  (about 45 - 60 minutes)  Ladle into sterilized jars and process for 10 minutes in a hot water bath.


The recipe is for 5 half-pints but I got 3 pints and 2 half-pints. (I used a bit more fruit and didn't measure the pepper or onion)  You are to store for at least a month so the flavours can meld.  It turned out to be a lovely colour and had a yummy aroma while cooking.  Enjoy!  ;) 


Monday, August 27, 2012

Saving Spinach Seeds

I decided to save my spinach seed this year.  Here are the plants going to seed.


Did you know that spinach has male and female plants?  You can't tell the difference until they start to go to seed.  (maybe some people can but I can't)  This is a female plant.  You can see the little lumps in the joints?  That is the start of the seeds.


This is the male plant.  It gets many tiny flowers all up the stalk.  When the plant moves in the wind or if you brush against it, the pollen looks like a yellow dust cloud.


Here is a female plant drying up outside.  I let them dry most of the way out in the garden.  When you are saving seeds, you don't want to save the first plants that go to seed as that is not a trait you want.  You also try to save seed from the largest, nicest plants so you continue those traits.


When the plants are fairly dry, I pull them out of the ground and tie them in bunches.  I then hang them upside down in the greenhouse to finish drying.  This way I don't have the spinach reseeding itself in the garden.


When the spinach is all dry, I put it in an old chicken feed bag to knock the seeds off.  Some people pick the seeds by hand but I don't really care if I have some leaves, etc. in with the seeds.  The seeds won't grow any better if they are clean and my way takes much less time.


After crushing the plants to remove the seed, I dump it into a container.  I usually spread the seeds out for a final drying.  I then sort out some of the larger chaff and then label and store the seeds until next year.


Thursday, August 23, 2012

Bread and Butter Pickles

I went away for a week to visit my uncle who was in the hospital and when I returned I had 25 huge cukes ready.  Before I left, there were only a few flowers and no cukes yet - I guess they really took off in the hot weather.  I've been eating lots of Greek Salad since my cherry tomatoes are ready as well.  http://mountaingardengleanings.blogspot.ca/2011/09/greek-salad.html

Since there are so many all at once, it is a perfect opportunity to make some Bread and Butter Pickles.  I use the recipe from my old Purity Cookbook.

Ingredients - this is the original recipe, I myself don't use the peppers and use regular vinegar instead of wine vinegar. 

16 c cukes, washed and sliced
1/3 c pickling or coarse salt
several trays of ice cubes
6 medium onions
1 green pepper
1 red pepper
3 c white wine vinegar
5 c sugar
1 1/2 tsp turmeric
1 1/2 tsp celery seed
2 tbsp mustard seed

This time since I had so many cukes, I upped the recipe by an extra half. 

Wash and thinly slice cucumbers.  Some of them were too big to use the food processor so I sliced these by hand.


The smaller ones were sliced in the food processor - much quicker.


I slice the onions in the processor as well.  Quicker and no tears!


Get a large enough container or bowl to hold the cukes, onions and ice cubes.   Start with a layer of cucumbers.


Add a layer of onions (and peppers if using them).


Sprinkle on part of the salt.


Top with some of the ice cubes.


Continue with the layers until all vegetables and salt are used.  Top with more ice.  Let stand for 3 hours. 


You can see how much moisture has been released by the cukes by how the mixture has shrunk after the 3 hours.  Drain well and place in a large pot.


Mix the sugar, vinegar and spices and pour onto cukes.  Stir well and heat to just boiling.


You can see the pickles turning colours from the turmeric.  Remove from heat and fill hot sterilized jars.  Wipe rim and seal jar.


Store in a cool place for a month and then enjoy!  The original recipe makes about 8 pints.  I increased everything by half except was liberal with the cukes and got 14 pints.


Monday, August 20, 2012

Lulu Suntanning

Lulu loves to suntan.  She can often be found laying in a stupor soaking up the rays.  Here she is at Rocky Mountain House laying by the tire of my car - the sun was hot but it was hotter near the black tire.


She always get a glazed, strobed out look when she is sunbathing.


Here I got a good picture of Lulu in lala land!  LOL!


Sometimes she comes out of her daze to groom a few feathers and then she's gone again.


When she starts panting, she's gotten too hot and usually finds some water to drink or some shade to sit in.


Here I caught her walking across part of the garden that isn't planted.  She'd walk two or three steps, then sprawl out and zen out for a couple of minutes.  Notice her wing feathers are still scruffy, she never did finish molting them.


Here she came back to earth and then got up and walked a couple more steps before sprawling out again. She did this several times before she got across the garden.


Oh! Another nice soft spot to suntan in . . . . . 


I'm getting sleepy, sleepy, . . .  


I must go on . . . later. 


Some days though, she decides she doesn't want to be out in the heat and comes in the house where it is cool.  Sometimes during the day, I'll find her sleeping in one of the bedrooms with her head tucked under the bed skirt.  Or maybe she'll be dozing between the bath tub and the toilet bowl. (she startled my sister-in-law doing that one!)  Or she may be sitting on her table looking outside when dozing in the air conditioned house.  Funny girl!  ;)


Thursday, August 16, 2012

Potato Test

We used potatoes leftover from last year to plant for this year's crop.  The sprouts on the potatoes were quite long so we decided to do a test to see which grew the best.  I had always use a piece of potato with several eyes as a start.  Usually by the time you cut the potato into chunks to plant, the sprouts fell off.

This year we planted:
1.  one row using small potatoes with foot long sprouts.  They were planted about six inches down with half the sprout sticking out of the dirt.  As time went on the sprout that stuck out died down to the ground level.

2.  one row with the foot long sprouts attached to the potato laying down and completely covered with soil

3.  one row with the sprout cut back to 6 inches and buried completely (planted like the first row but without the sprout sticking out)

4.  one row with only 2 sprouts with no potatoes planted in each hill (we thought these wouldn't grow because I had been told you need part of the potato with eyes to grow)

5.  the rest we planted small whole potatoes instead of pieces as there were quite a number of small potatoes left - these did not have any sprouts attached

All potatoes were planted on the same day in April.

In May I snapped some pics of all the potatoes.  Here were the results.


First row -  After that sprout died down to the ground, the potatoes grew quickly.


Second row - The potatoes grew the fastest and largest of the bunch - probably because they had the whole twelve inch sprout to grow with.


Third row - grew very similar to first row but was slightly slower.


Here you can see the row with only sprouts on the right and the small plants on the left were the potatoes planted normally.  They were a lot slower than the rest with the sprouts.


Now here are the sprout-test potatoes in July.  It is hard to tell the rows apart as the potatoes are all large and sprawling.


Here are the regular potatoes on the same day.  The plants are slightly smaller and the potatoes are not so developed.


Lulu and I dug two hills.  The first was a sprouts only plant.  My mom was sure that I wouldn't get any potatoes from planting only sprouts.  I was sceptical too, and thought that they wouldn't produce much either.


Lulu likes to help dig potatoes because there are always worms and bugs for her to feast on while I do all the work.


Okay, digging is all done.  Now on to the weigh-in.


I weighed the potatoes from the sprouts only hill and got over 8 1/2 pounds of potatoes.  Not bad from only planting a couple of sprouts.


The largest potato in that hill was over 1 1/2 pounds in weight plus there were two others that were over one pound each.


This was the haul from the second hill I dug.  This time it was from row 2 where the whole sprout was buried with the potato.  That hill yielded 20 pounds of potatoes!


I'm glad we did the test because now I know the sprouts are more important than the potato.